Help & How Tos

Enhancing Bath Fizzies and Bath Bombs Video
Article

Enhancing Bath Fizzies and Bath Bombs Video
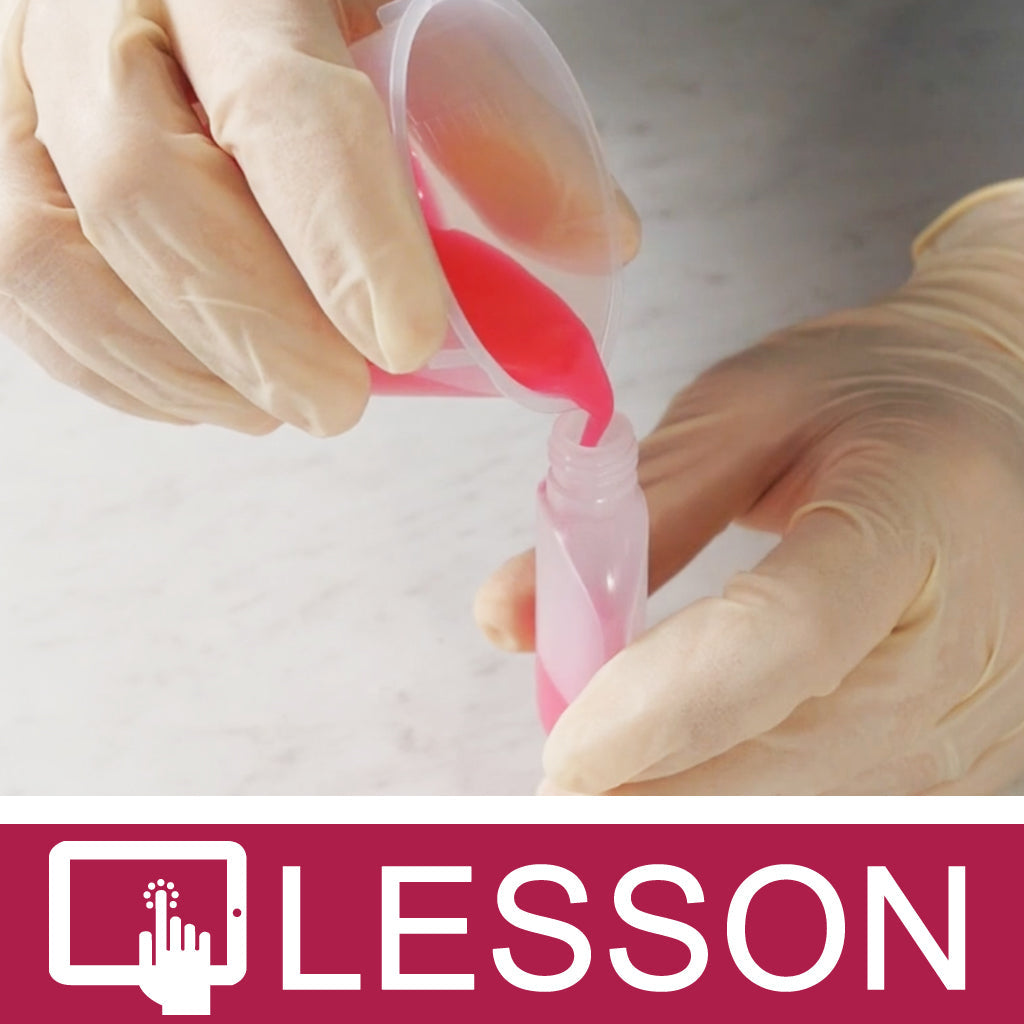
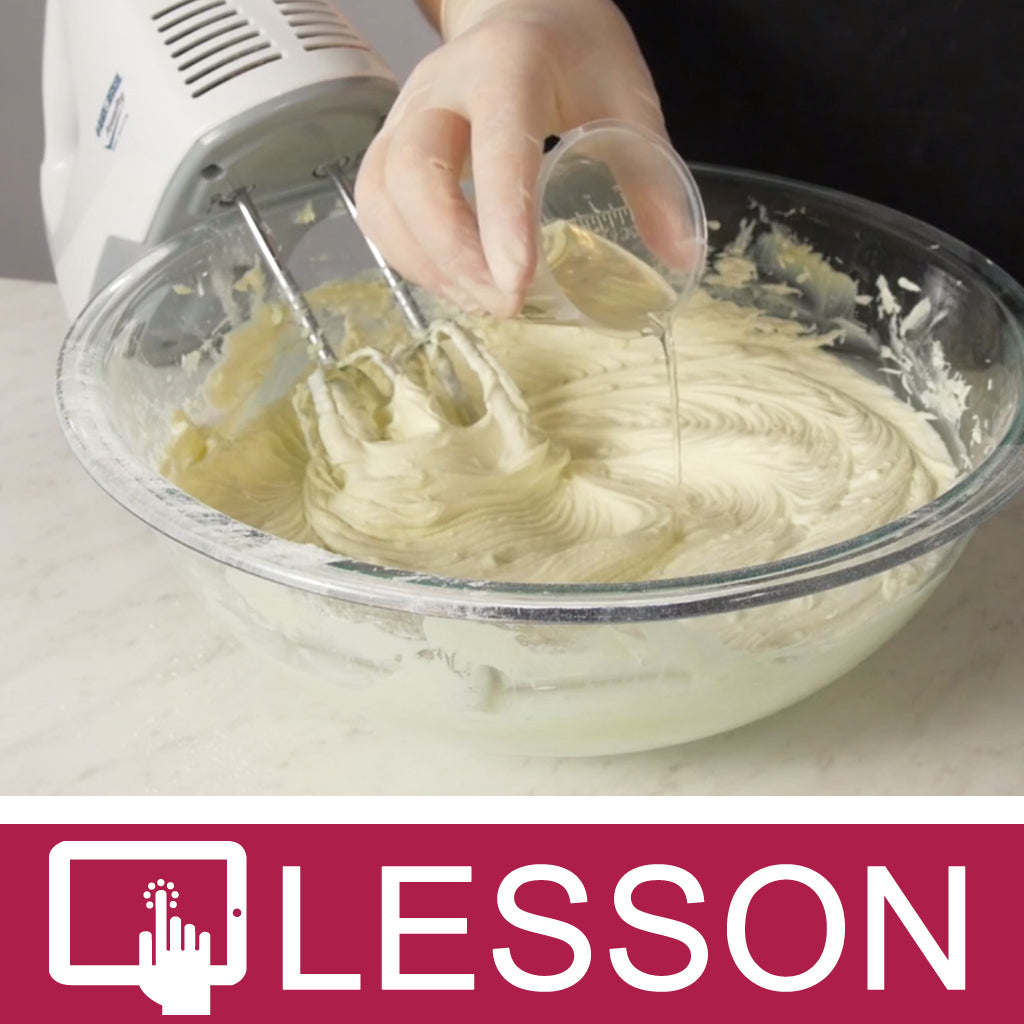
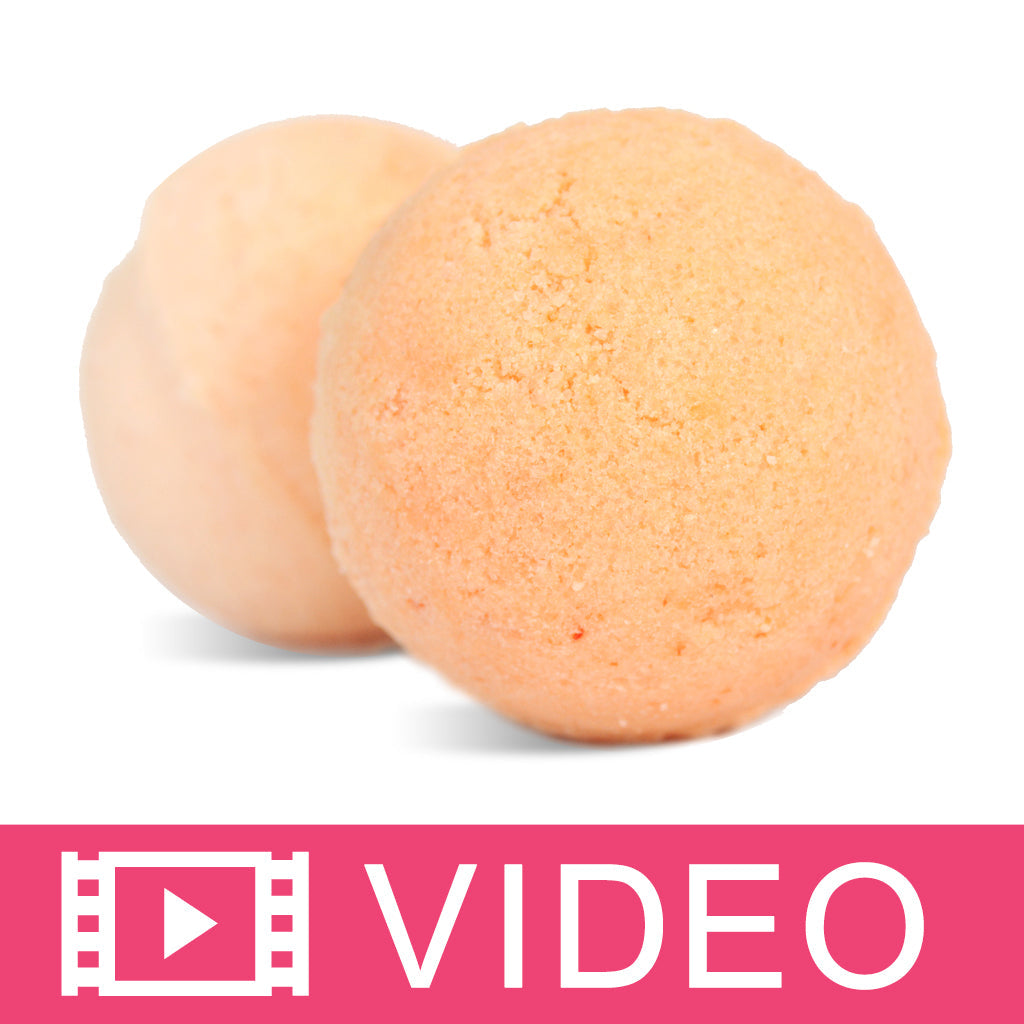
Learn tips and tricks for making luxurious bath bombs in this Simple Secrets video. Different additives can enhance your bath bomb recipes. We love including moisturizers to luxuriate the bathing experience, but combine this with Polysorbate 80 to prevent the oils from pooling on top of the bath water. We also love coordinating the fragrance and color for a high-end spa product that your customers will pay top dollar for.
Trimming Dip Tubes on Pump Tops & Sprayers Video

Article

Trimming Dip Tubes on Pump Tops & Sprayers Video
Most bottles and tops are sold separately which enables you to customize your packaging. Since one top fits many different sized bottles, many times the dip tubes need to be adjusted to fit inside the bottle. This video demonstrates effective tips to cut dip tubes to the proper length. Pump tops are commonly used in lotions and shower gels while sprayer tops are commonly used in body mists and room sprays. Watch this video to learn more about trimming dip tubes.
Melt and Pour Soap Video Tutorial

Article

Melt and Pour Soap Video Tutorial
Embark on a delightful journey into the art of soap making with our video, "My First Time Making Melt & Pour Soap." Whether you're a curious novice or a craft enthusiast looking to expand your skills, this tutorial is tailored just for you. Watch as I take my first steps using the Basic Melt & Pour Soap Recipe from the renowned Elements Bath and Body's Learning Center, expertly crafted by Teri Endsley of Tree Marie Soapworks. From measuring and melting to coloring and scenting, follow along every step of the way as I navigate through this exciting process.In this engaging tutorial, I will share my personal experiences — the trials and errors, as well as the unexpected successes. You'll see firsthand the common pitfalls to avoid and gain practical tips that will help you achieve beautiful results in your soap-making endeavors. Witness my moments of triumph as I demystify each stage of the melt and pour process, making it accessible and fun. My hope is that by watching my journey, you'll feel inspired and empowered to create your own unique soap creations.This video isn't just about following a recipe; it's about embracing a new craft with enthusiasm and a willingness to learn. By the end of this tutorial, you'll not only understand the basics of melt and pour soap making but also appreciate the joy and satisfaction that comes from creating something with your own hands. So, if you've been thinking about trying your hand at making soap, let this video be your guide. Remember, if I can do it, so can you! Dive into the wonderful world of soap making, and let's get crafting together! How can I prevent bubbles in my melt and pour soap?Answer: Bubbles are often caused by vigorous stirring or pouring the soap too quickly. To minimize bubbles, stir the soap base gently and pour slowly into your molds. If you do notice bubbles forming, you can lightly spray the surface with rubbing alcohol immediately after pouring to help them dissipate.What additives can I use in melt and pour soap?You can personalize your soap using a variety of additives such as essential oils for fragrance, colorants for visual appeal, and exfoliants like oatmeal or poppy seeds for texture. Additionally, you can include moisturizers like aloe vera. Always ensure that your additives are compatible with soap making and add them at the correct temperatures to maintain their benefits.How long does it take to melt and pour soap to set?Typically, melt and pour soap takes about 2-3 hours to harden sufficiently to be removed from the mold. However, this can vary depending on the size and thickness of the soap. For best results, it's recommended to let the soap set overnight to ensure it is fully solidified and easy to handle.
Wax Melts & Wickless Candles Guide

Article

Wax Melts & Wickless Candles Guide
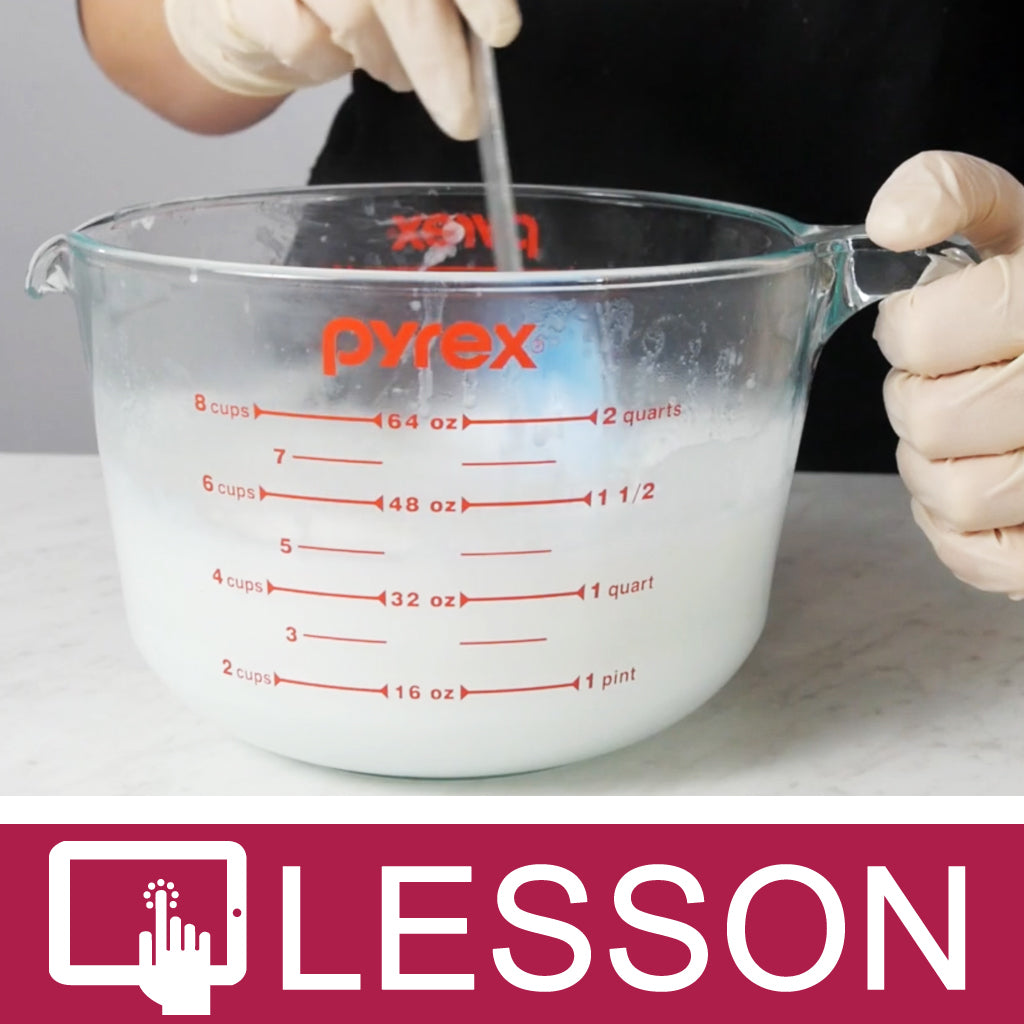
Embark on a delightful journey to create your very own scented wax melts and wickless candles. This comprehensive guide will introduce you to the joys of crafting these fragrant accessories, perfect for enhancing the ambiance of any space with their cozy aromas. Whether you're a beginner or an experienced craftsperson, you'll find valuable insights to bring your scented creations to life. INFORMATION Difficulty: Beginner Yield: 8.5 oz or 4 x Tart Clamshells TIMING Prep Time / Clean Up: 15 Minutes Perform Time: 1 Hour Total Time: 1 Hour 15 Minutes SUPPLIES Double Boiler (for melting wax) Pipettes (for fragrance oil) Spoon or Stirring Stick Glass Measuring Cups (to fit total amount of ingredients) Digital Scale Glass Container(s) of Your Choice (to fit a total of 8.5 oz.) or 4 x 6-Cavity Clamshell Mold Digital Thermometer or Infrared Thermometer INGREDIENTS 6 oz Beeswax 2 oz Coconut Oil Fragrance Oil of Your Choice (One Ounce to One Pound is a common rule of thumb, so 0.5 oz. is used for this recipe or 6%) DIRECTIONSStep 1Heat beeswax to 185°F/85°C. (Do NOT exceed 200°F/93°C as this may discolor and/or burn your wax.) One important thing to note about working with beeswax is that it can become flammable if overheated. That is why a double boiler and not a direct stove top or microwave melting is important.Step 2Add coconut oil and stir until just melted.Step 3Add your selected Fragrance Oil and stir to re-melt any wax that has solidified because of the addition of room-temperature fragrance. Remove from heat. (Add fragrances with higher flash points at 185°F/85°C & fragrances with lower flash points at 160°F/71°C.)Step 4Once the fragrance is mixed thoroughly pour into glass container(s) or tart clamshells.Step 5If you desire a smooth top, re-melt the top using a heat gun. Be very careful near the plastic edges. The plastic will melt if you get the heat gun too close, or if you hold the heat gun in one place too long.You can make more if you like! This recipe makes 8.5 oz in total. (The photo below is a double batch.)Allow to solidify at room temperature and cure for 24-48 hours and enjoy! Creating scented wax melts at home offers a myriad of benefits. Not only is it an enjoyable and creative hobby, but it also allows for unparalleled customization of your living space's aroma. You can select from an array of fragrances to match your mood, the season, or a special occasion. Homemade wax melts offer a personal touch that store-bought options simply can't match, letting you control the intensity and nature of your home's scent. To get the most out of your scented wax melts and wickless candles, there are several tips you can follow. Store them in a cool, dark place to preserve the fragrance oils' integrity. When using wax melts, consider the type of warmer and the temperature it reaches, as these factors can affect the melt's longevity. By understanding how to properly care for and use your scented creations, you can enjoy their fragrances for longer periods, making your effort even more rewarding. What are some other benefits of using wickless candles?Wickless candles are a safer alternative to traditional candles as they don't require an open flame. They're perfect for continuous scent distribution without the soot or smoke associated with burning wicks.How long do wax melts last?The lifespan of a wax melt varies based on the wax type and fragrance load. Typically, wax melts can last anywhere from 8 to 20 hours of fragrance time.Can I make scented wickless candles at home?Absolutely! Similar to wax melts, you can use beeswax, coconut oil, and your choice of fragrance oils to create your own scented wickless candles by pouring the mixture into containers instead of molds.How can I enhance the scent throw of my wax melts and wickless candles?To enhance the scent throw, ensure you're using high-quality fragrance oils and appropriate amounts. Experimenting with different wax and oil ratios can also help find the perfect balance for a stronger scent.
Learn to Make: Lotion from a Base

Article

Learn to Make: Lotion from a Base

Lotion bases are great to use when you don’t want to get into making lotion from scratch. Sometimes emulsifying and preserving handmade lotions can be tricky. Using a base that is tested, tried and true can save you money and time!  
How to Make Wax Chunks

Article

How to Make Wax Chunks
A popular and widely varied variety of candles are chunk candles – chunk votives, chunk pillars, chunk containers, and chunk tarts (or scented wax melts). And there are white chunks, colored chunks, multi-colored chunks, assorted sizes of chunks, scented wax chunks, and assorted shapes of chunks! You name it – there are limitless possibilities. A wax “chunk” for candles can even be left in bar shapes or rectangular pieces for vertical chunk candles. So, in order to learn how to make chunk candles you first need to learn how to make wax chunks. Let's get started! KY 143 Paraffin Pillar WaxFragrance Oil (if desired)Candle Colorant (if desired)Digital ScaleCookie Sheet w/approx. 1/2" lipPam or Silicone SpraySmall paring knife or Utility KnifePouring Pot or Pyrex Glass Measuring CupsDixie CupsThermometerPresto Pot or Double Boiler to melt waxMetal Spoon to stir waxSafety gogglesApron to protect clothingWax paper, old newspapers or aluminum foil Step 1Melt the wax with the chosen method – Presto Pot or double boiler. Make sure to follow the wax manufacturer melting and pouring guidelines for correct temperatures. For this tutorial, KY 143 Paraffin Wax is being used so it will need to be heated to approx 180° F per the manufacturer' guidelines. Use the thermometer to correctly and properly monitor the temperature.Step 2Prepare the cookie sheet. Spray Pam or silicone release spray lightly over the entire cookie sheet. Wipe excess off with a paper towel. This will prevent the wax from sticking. This only needs to be done for the first set of wax chunks poured. Once the pan is seasoned, this step will not be necessary.Step 3Transfer approximately 16 oz. of wax to pour pot. If adding fragrance and/or color, add to the wax now and stir well to fully incorporate. Follow wax manufacturer guidelines on fragrance oil load. For this tutorial, no fragrance or color will be added.Step 4Pour wax onto cookie sheet using a gentle back & forth motion to evenly distribute the heat of the wax. Be careful not to spill or splash while pouring. Pour to the depth desired – pour more for thicker chunks, and less for thinner chunks.Step 5Allow the wax to cool until it's firm but still pliable. The consistency should be close to that of a play-dough.Step 6Take paring/utility knife and begin cutting. Using a crisscross pattern works best. Try to keep lines straight and even for a more uniform chunk. Cookie cutters and miniature cookie cutters can also be used at this point for a variety of chunk shapes. Don't cut the chunks too large – a 1/2″ x 1/2″ square is a good size to work with when making candles with them.Step 7Allow the wax to cool completely. Once cool, turn the cookie sheet over and give a gentle tap. The chunks should fall out of the cookie sheet. Some chunks may still be connected but can be easily broken up by hand.Step 8Store chunks by color/scent in poly cello bags. Tips: Use different molds for a variety of wax shapes. For example: mini gingerbread men silicone mold, petite heart silicone mold, mini tree silicone mold, etc. Use cookie cutters for a variety of chunk style. Cut wax into vertical pieces instead of chunks. Cut chunks in assorted sizes. Wax chunks can also be used as scented wax cubes in a melt warmer. Cover counter with wax paper, old newspapers or aluminum foil to make clean up easier. Be sure to wear safety goggles for eye protection. You do not want to be splashed in the eye with hot wax! Remember with wax – safety first. Waxes used in making candles are very similar to cooking oils – they are flammable and they are poured at high temperatures, but with certain precautions, accidents may be avoided. NEVER HEAT WAX ABOVE 210°F. For safety, wax should be melted in a double boiler. Wax should NEVER be heated directly over an open flame or burner. Direct heating can cause wax to explode and result in serious injury. Use of a thermometer is advised to ensure proper wax pouring temperature. Never leave hot wax unattended. Keep children and pets away from the area where wax is being melted and poured. Never pour water in a wax fire. Water will cause the fire to spread. To extinguish a fire in a pan, cover the pan with its lid. Use a dry chemical fire extinguisher. Never pour melted wax into the sink or other drains.
Learn to Make: Lip Balm From Scratch

Article

Learn to Make: Lip Balm From Scratch
Lip balms are fun to make! They are also great products to add to your soap business. You’ll be amazed at how simple they are to make from scratch. And since you’re making them from scratch, you’ll get to choose all of the oils and butters that go into your lip balms, creating a one of a kind lip balm for you and your customers.
Making Jelly Soap

Article

Making Jelly Soap
With the addition of our new ingredient, Crafter’s Choice Agar, we were anxious to try our hand at making jelly soap. After doing some research, we found a basic recipe to use as our starting point. Many recipes use gelatin as the thickener but we replaced that with Agar which is a vegan option.
How to Make Whipped Body Butter

Article

How to Make Whipped Body Butter
Learning how to make whipped body butter allows you to add a customer favorite to your product line. Not only is whipped body butter decadent, it also moisturizes and nourishes the skin. Keep reading to find our most recommended ingredients, equipment to have on hand, and the best additives. As you learn how to make body butter to sell, we'll teach you how to formulate your own recipes and also walk you through the process of no-melt vs melt methods.
Introduction To Melt and Pour Soapmaking
Article

Introduction To Melt and Pour Soapmaking
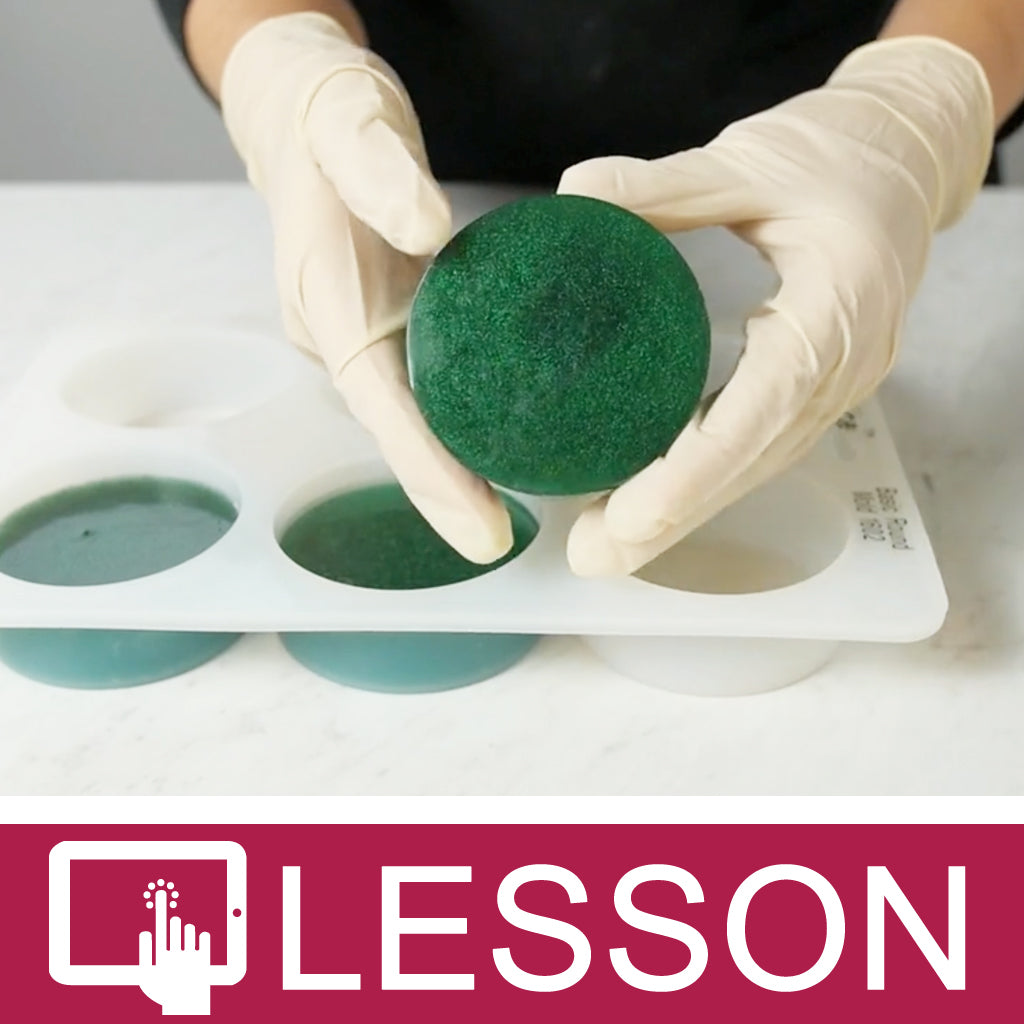
This lesson is an introduction to melt and pour soap. It provides basic concepts that form the foundation of melt and pour soapmaking.
How to Create Luxury Spa Products

Article

How to Create Luxury Spa Products
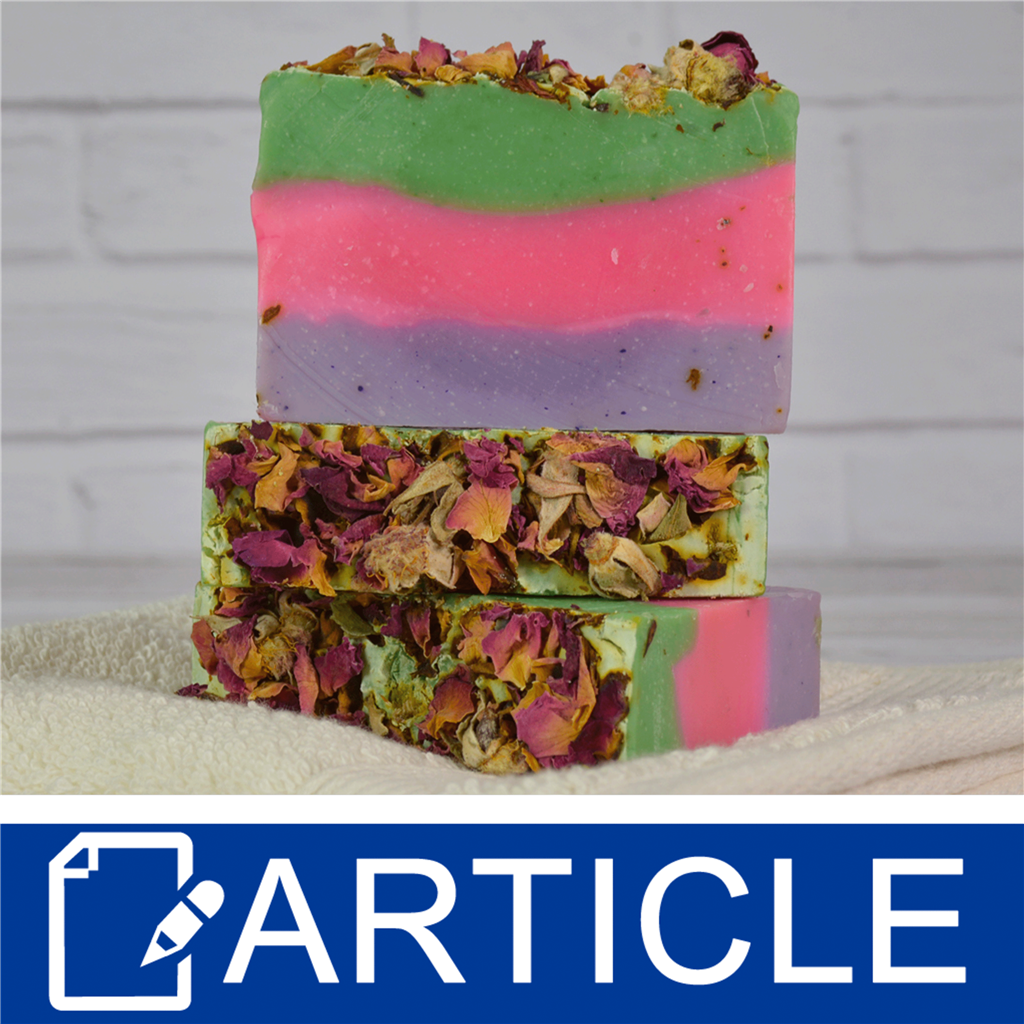
Adding a luxurious sugary botanical scent is a simple way to raise the caliber of soaps and cosmetics. Sugar by itself is sometimes viewed as kiddie or for teen products while floral can often be reminiscent of grandma and the older generation. Mixing sugar with botanicals creates a trendy balance of young and sophistication that appeals to a wide audience. Use these fragrances in soaps and cosmetics to elevate your product line for a classy and elegant feel! 
Learn to Make: Foaming Hand Wash from Base

Article

Learn to Make: Foaming Hand Wash from Base
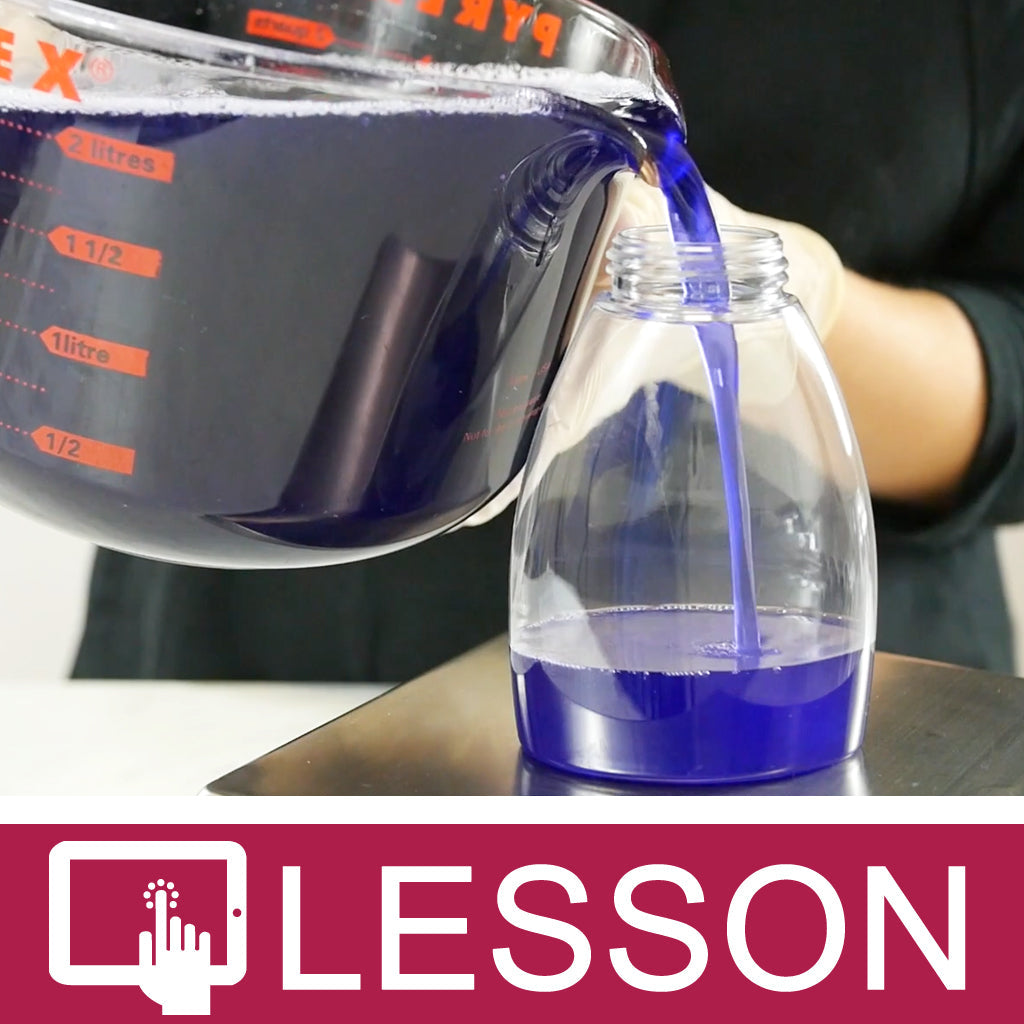
Foaming hand soap is fun to use. Foamer bottle pumps create dense creamy foam by adding air to the thin hand wash. Customers love foaming soap! Foaming Hand Wash Base paired with foamer bottles make it easy for you to provide to customers.